Your shopping cart is empty. Please log in to see your recent orders. Or explore our current coffee offering.

Tips for making iced coffee special with your immersion dripper.
Immersion Dripper
Filter
Mason jar with lid or cocktail shaker
Scale
Filtered water
Coffee
Grinder
Kettle
Timer
Ice
Favorite glass
Heat your water, weigh out and grind your coffee.
Heat your brew water to between 205°F and 210°F. You’ll want water toward the cooler end for darker roasts and the hotter end for lighter roasts. For iced coffee, if you can, heat your water to a slightly higher temperature than you would for brewing hot.
For icing an immersion dripper, we’re going to brew with a 1:8 ratio (for every 1 gram of coffee, use 8 grams of water) for most of our single origin coffees. Adjust your water based on flavor preference. We use a stronger recipe for iced coffee because we’re going to brew onto ice, which will cool and dilute the brew for drinking.
For icing an immersion dripper, a fairly coarse grind is a reasonable starting point. If the coffee tastes unpleasantly sharp/vegetal/under-ripe fruit, grind finer. If the coffee tastes bitter/flat/dull/dry/bland, grind coarser.
Our recommendations are starting points. Adjust to suit your flavor preferences.
With your heated water, ground coffee, scale, brewer and decanter, we’re ready to start making a cup of coffee.
Fold your paper filter along the seams and set in immersion dripper.
Make sure that your brewer is set to “closed.”
With brewer set to “closed,” thoroughly rinse the paper filter.
Dump the rinse water.
Set closed brewer on a scale and make sure your scale is on and reading 0.0 grams.
Carefully dose grounds into center of dripper.
Note the dose weight and multiply by 8 (or your preference adjusted number).
Gently shake dripper to level off grounds and re-zero scale.
Create a small divot in the center of the leveled grounds (loosely mimicking the shape of the dripper).
Start pouring your water in the center of the grounds, slowly spiraling out to cover all grounds to bloom the coffee. (“Blooming” refers to releasing stored carbon dioxide from the grounds—you might see the coffee start to bubble some.) Use a solid 3x as much water as coffee to bloom.
Firmly swirl slurry and let sit for a few seconds, allowing remaining gas to escape. (“Slurry” refers to the mixture of coffee grounds and hot water in your brewer.)
Resume pouring with a controlled pace working in spirals, from center toward perimeter and back again, until you have added the rest of your water.
Carefully swirl brewer.
Lid the immersion dripper and set a timer for 3 minutes.
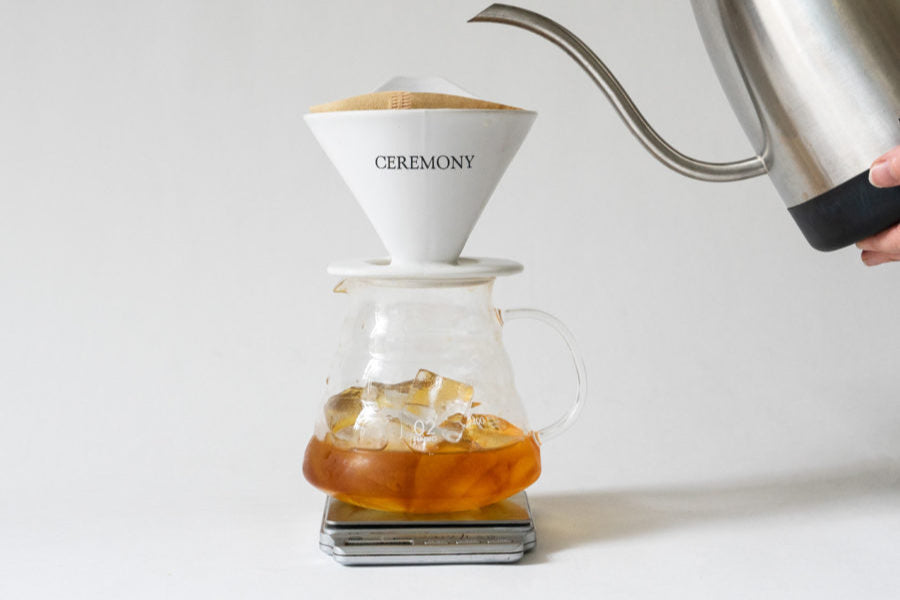
While the brew is steeping, fill your mason jar (or shaker) with ice (start with 6-7 cubes or roughly 160-200 grams of ice).
When the timer goes off, remove the lid and toggle dripper open and allow it to drain directly onto the ice filled jar (this should ideally take between 30 and 60 seconds).
Lid the jar and shake until the jar feels cold in your hand and the coffee takes on a creamy appearance.
Loosen lid, strain into a fresh glass (add ice to preference), and enjoy.